Schlieren Imaging

Schlieren allows us to visualize the difference in optical densities caused by a variety of phenomena. There are multiple types of Schlieren that use lenses, mirrors, and even just the background noise of an image but the type that I’ve set up (and seems to be most common outside of labs) uses a single parabolic mirror along with a point light source, knife edge, and a camera with a telephoto lens. The setup is fairly simple, consisting of the light source and knife edge both twice the focal length away from the mirror (with the knife edge cutting off half of the light) and the camera directly behind the knife edge, viewing the mirror and observation area. I’ve made a simplified diagram of the system below.
The fundamental concept that allows Schlieren to work is diffraction. Light bends, or diffracts, when it enters a region with different refractive index (such as some hot air in a cold room). Diffracted light from some media in the observation area will bounce back off of the mirror towards the camera, but hit the blade before it can reach the camera. The knife edge “cuts” the light, allowing beams that bent one way to pass on to the camera and blocking beams that bent too far the other way. This creates contrast in the image between areas with different refractive indices.

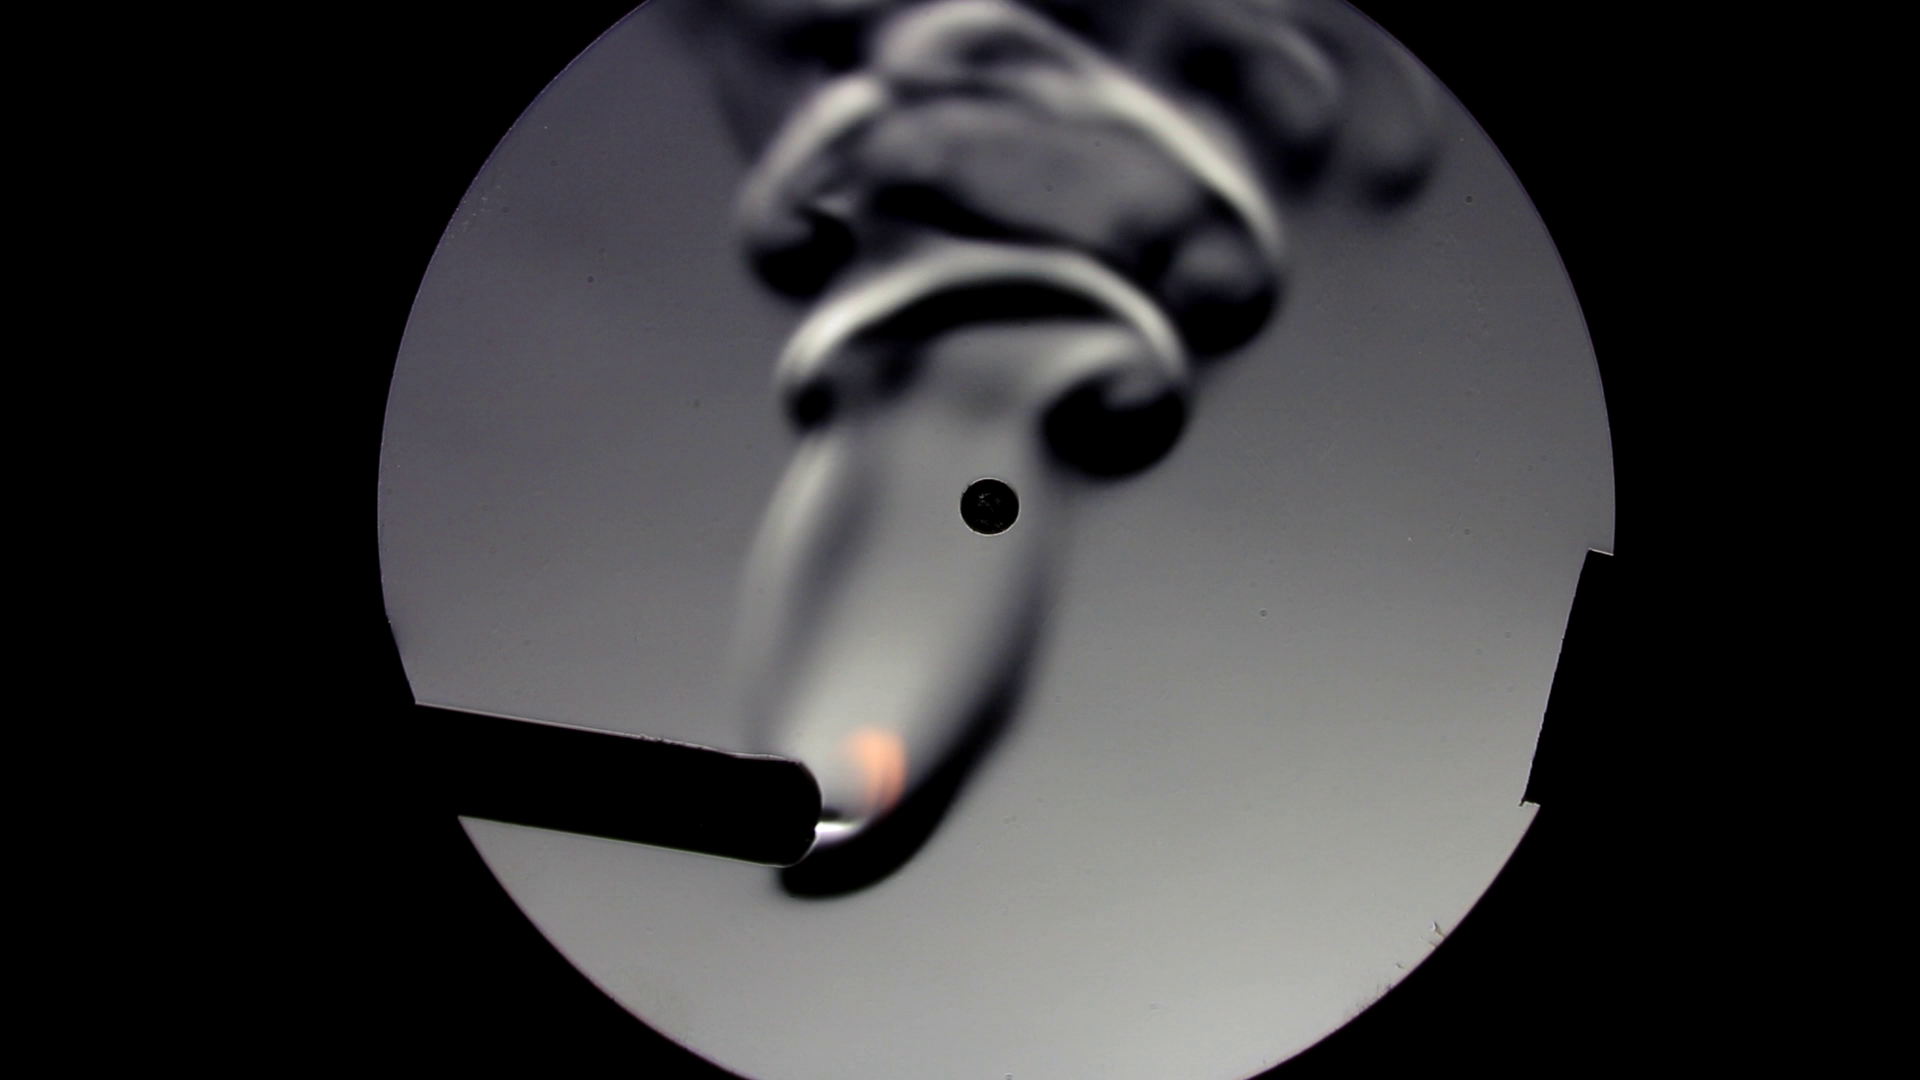
Above is one of the most interesting images I got with the most recent round of Schlieren I did (using a 135mm telescope mirror and a 400mm equivalent telephoto lens). I tried getting my first Schlieren images in my senior year of high school with a much smaller mirror, producing barely noticeable effects. In the summer of 2020 I bought a better mirror, which produced all of the images in this post, and this time it was much better. However, there could definitely still be some improvements, as I’ll discuss more below.
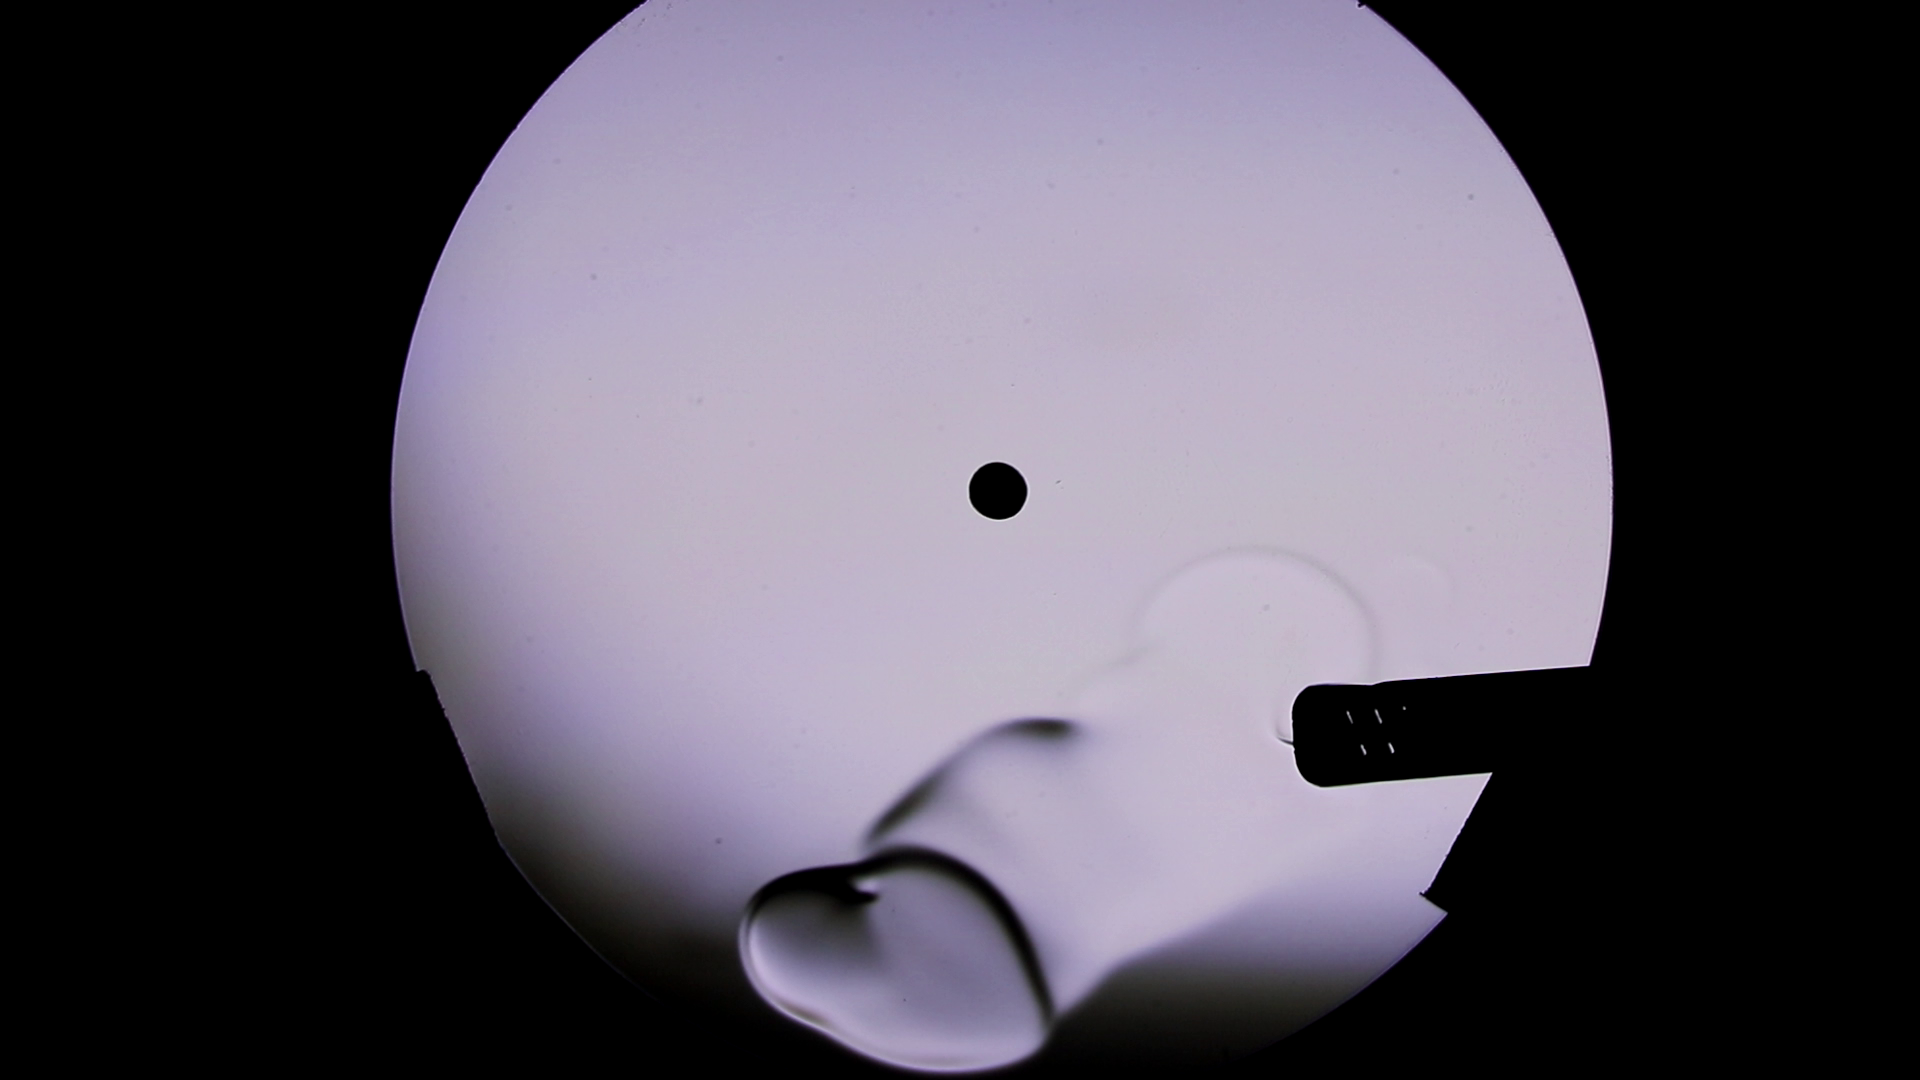
In the image, you can see the gas coming out of a lighter which is just starting to ignite. I’m not sure what causes the difference in optical density for the lower region (which is igniting) but it might be the fact that it’s a higher temperature than the other gas. If that is true, this image is quite interesting as it simultaneously shows two different effects observable with Schlieren—different types of gasses and heat differentials. Below, I’ve put another image of a lighter which is fully lit this time, however suffers an issue I’ve had a lot with my Schlieren setups where both the object in front of the mirror and the Schlieren effects themselves appear doubled.
This doubling effect is not too bad in this photo (most evident in the flame of the lighter), but it can be much worse. Again, this has been a fairly common issue that I’m fairly confident is primarily caused by two factors. Firstly, in my experience, if the light source and knife edge are not both perfectly at double the focal length from the mirror, the images can either show up doubled or just blurry and distorted. Similarly, if the light source and knife edge are not as close together as they can possibly be, the same effects can result. In this case, I think it is caused by both of these as my setup wasn’t the most stable so it was not easy to get the light and blade perfectly at 2F and also it was hard for me to get them close enough (the light source or its holder would get in the frame of the camera).
The doubling of images wasn’t the only problem with my most recent setup. I used a small 3mm white LED taken from an old flashlight which didn’t really have the power I wished it had. A higher power light source—such as a relatively cheap 5 or 10W LED—would allow the camera to see the object being observed (not just the Schlieren effects around it) and perhaps more importantly, it would increase the overall clarity and contrast of the Schlieren effects produced.

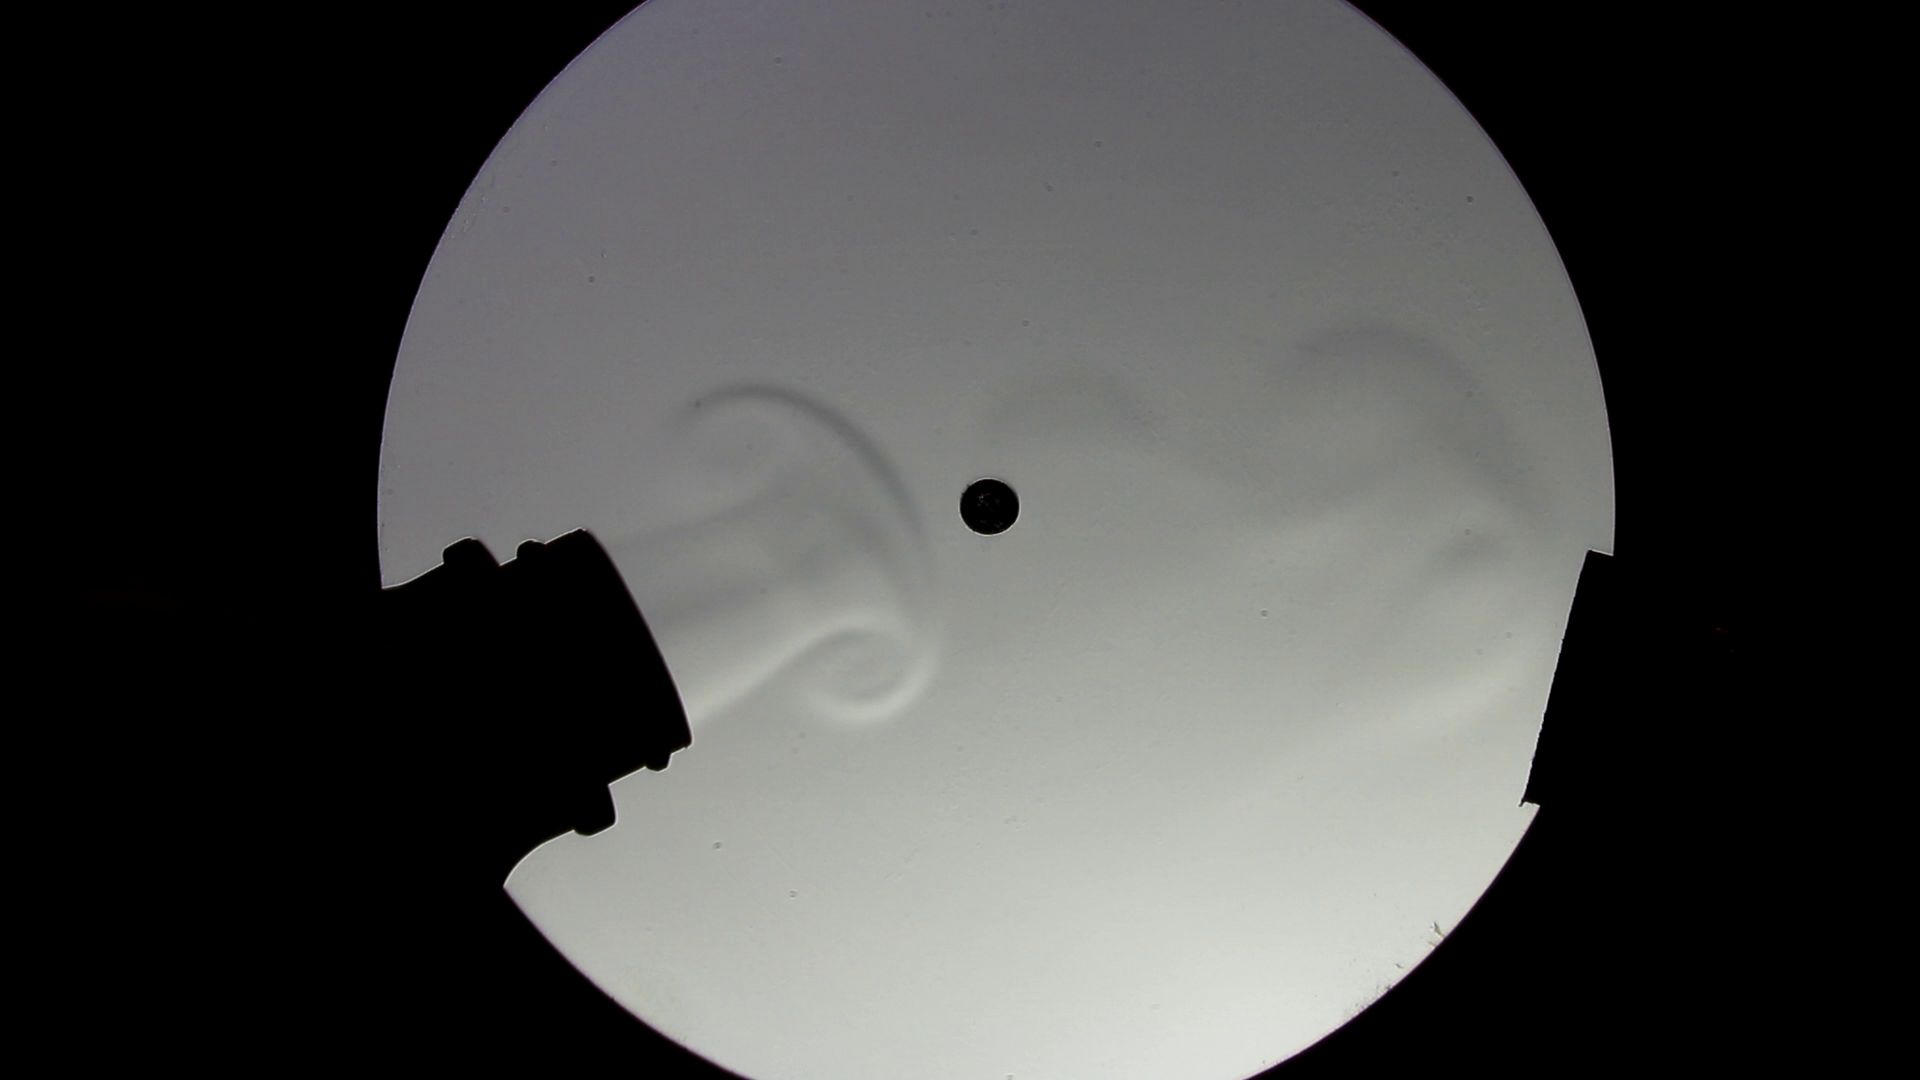
The image above is a good example of where the results would be improved with a higher-powered light source. While it certainly is interesting seeing vapors coming out of the bottle of isopropyl alcohol, they’re pretty subtle and you can barely even see the smaller wisps of vapor off to the right. A better source of light would make the lines between the vapor and the air much sharper and additionally have more contrast. It could also help, if powerful enough, by seeing through the translucent bottle a bit which could yield some very interesting images of the vapor-air interactions in the throat of the bottle.
One last, somewhat interesting, thing I did with my most recent Schlieren setup is to look at the heat outputs of various types of light bulbs. In the video below, you can see that I recorded four different types of bulbs (LED, fluorescent, incandescent, and halogen) with roughly the same “equivalent” power in an attempt to see which ones put out the most/least heat. It’s not a very quantitative test at all, but I thought it was interesting to see the difference in contrast between the heat lines coming off of the incandescent and LED bulbs, for example. It really shows how much of the energy being put into light bulbs go into creating heat, even with efficient LED bulbs! (If you skip to about 2:05, you can see the bulbs turn off and stop producing laminar-ish heat currents)
05/2018 – 04/2020
